After many years being a bystander on the world of cyptocurrency I’ve finally taken the plunge into making a starter rig to mine some coins of my own. Getting “in” to cyptocurrency doesn’t have to be as technical as building a computer though. I found the easiest way to just buy coins with cash is on Coinbase however be careful of their fees adding as they add up fast. If you want to buy $50 in coins you’d be better off buying $49 in coins because the fees are respectively $2.99 and $1.99 for the purchase. One additional word of warning is that your coins in Coinbase aren’t completely yours since you don’t have a wallet all your own. However day trading on the cryptocurrency markets is too rich for me and not my speed so I wanted to mine my own coins. It feels late in the game to start mining. I thought about this several times working up to my purchase and I figured that if cryptocurrency succeeds then it still is in its infancy. Sure I would have loved to start 5 years ago but in 5 years I would have been thinking the same thing about now.
There are dozens of cryptocurrencies around and I had a few reasons for choosing Monero (XMR) over others to invest my new rigs power into. The first reason is that the algorithm is designed to focus on CPU and GPU mining while being resistant to ASIC products. This means that it will stay accessible to a more diverse group of people instead of being centralized by the few who can afford buying ASIC tools. My secondary reason for choosing Monero is the privacy features of the coin being the default scenario. Unlike some other coins you aren’t able to see which addresses or wallets contain the most Monero coins. So with a budget of about $1500 I set out to build a good and expandable starter rig that could run day and night to mine coins for me.
It had been a while since I’d built a computer since I’ve been buying laptops for several years now so I didn’t actually buy everything needed in the first go. Our shopping list starts with the basics. We’ll need a power supply, motherboard, CPU, a CPU fan, some kind of hard drive, RAM and of course the graphics cards which are the real work horses of the system. What I had left out of my system was the on off switch, HDMI dummy plugs, screw standoffs and screws to mount the motherboard and a watt meter to see power usage at the wall. My shopping list in the end looked like this.
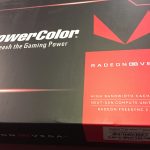
- PowerColor Radeon RX Vega 56 DirectX 12 AXRX VEGA 56 8GBHBM2-3DH 8GB 2048-Bit HB
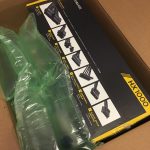
- CORSAIR HX1000 Series CP-9020139-NA 1000W ATX12V v2.4 / EPS12V 2.92 80 PLUS PLATINUM Certified Full Modular Power Supply
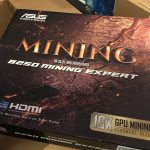
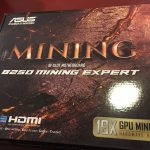
- ASUS B250 MINING EXPERT LGA 1151 Intel B250 HDMI SATA 6Gb/s USB 3.1 ATX Intel Motherboard
- G.SKILL Ripjaws V Series 8GB 288-Pin DDR4 SDRAM DDR4 2400 (PC4 19200) Intel X299 / Z270 / Z170 / X99 Platform Desktop Memory Model F4-2400C17S-8GVR
- Kingston A400 2.5″ 120GB SATA III TLC Internal Solid State Drive (SSD) SA400S37/120G
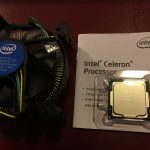
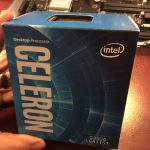
- Intel Celeron G3930 Kaby Lake Dual-Core 2.9 GHz LGA 1151 51W BX80677G3930 Desktop Processor Intel HD Graphics 610
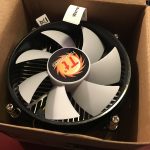
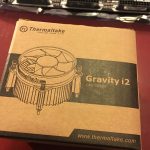
- Thermaltake CLP0556-D 92mm Gravity i2 95W Intel CPU Cooler
- Arctic Silver 5 High-Density Polysynthetic Silver Thermal Compound AS5-3.5G
- On/Off switch
- Screws and Screw standoffs
- Watt meter
- HDMI dummy plugs
I ended up paying just under $1600 when everything was done but I’ll be able to add 14 more video cards before having to buy another rig.
Video Cards
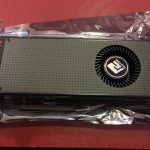
The video cards I picked were the new AMD Radeon Vega 56 which just recently came out. They have proved to be quite a jump in effectiveness in mining Monero over other similarly priced cards. As of the time I bought them from Ebay they were $20 cheaper than on the main Newegg site. Additionally someone already did all the hard work of tweaking the cards and put out a definitive guide to Monero and Vega.
Power Supply
I was admittedly influenced in my choice of power supply by the Tom’s Hardware guide on Picking The Right Power Supply. Since power is a big part of how the rig will work I went with a Corsair HX1000 power supply with 80 Plus Platinum certification for efficiency. I can add a few more video cards before I max out this beefy PSU.
Motherboard
The motherboard I picked was bleeding edge at this time with an advertised support for 19 GPUs sometime in the future. Right now it isn’t able to do more than 8 cards of AMD and 8 cards of NVIDIA at the same time due to limitations in Windows but those limits are planned to be overcome by the beginning of next year. The power supply I picked is again overkill for the 2 video cards I picked but I had an eye on expansion. While I’m talking about power supplies and expansion this motherboard supports a total of 3 power supplies! An important feature for the motherboard is that is also supports an integrated GPU when available.
Memory (RAM)
The RAM was a compromise. Plenty of guides out there will tell you that you don’t even need 8GB of RAM and you can get away with 4GB! I just felt wrong installing that little RAM into a new machine. It was lucky that I did install 8GB because one of the features of the AMD Vega 56 cards I bought is called the High-bandwidth Cache Controller or HBCC which allocates more RAM to the video cards allowing for faster mining! If I had to do it again I’d probably max out the system with 32GB at 2x16GB of RAM.
Hard Drive (SSD)
The Kingston SSD was also difficult to buy at only 120GB in size. However a mining rig doesn’t need a lot of extra hard drive space and this was the right balance of size and price. You can get away with smaller but I wouldn’t want to.
CPU
The CPU itself is also mostly superfluous so I found, to my great surprise, an extremely cheap Intel Kaby Lake CPU that would be perfect for this system and even used less power at just 51W. The big requirement here was that it had an integrated GPU so we can mine on the rig and still be able to navigate the system.
CPU Fan
The stock fan has never been good. I picked one nearly at random with good reviews.
HDMI dummy plugs
The dummy plugs fool the video cards into thinking they have an active monitor they are plugged into and keep the GPU activated. It also helps keep settings between restarts.
Extras
You need to have an on/off switch and the screw standoffs are also essential for mounting your motherboard somewhere. The watt meter truly is an extra since it doesn’t improve my hashes per second.
Case
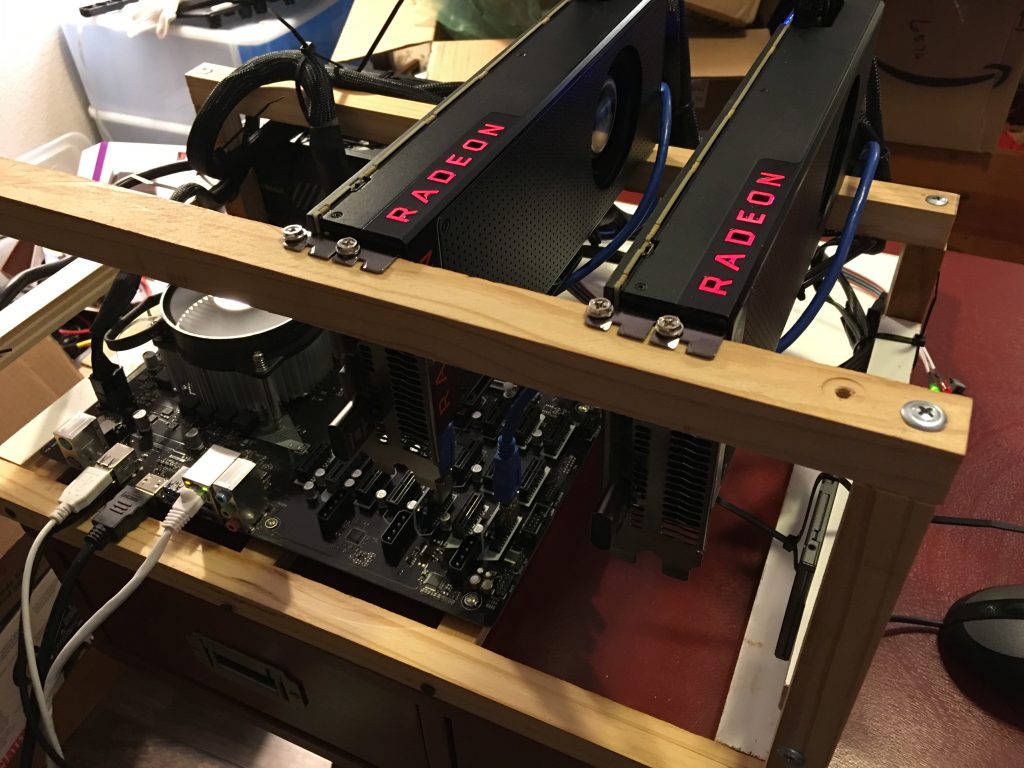
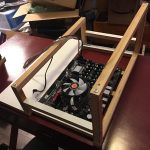
Finally I used my own scrap wood to create the rig open air case. I loosely followed this post on how to make a wood mining rig. It isn’t bad for my first case but I’m already looking forward to doing better on my next build.
Benchmarks
So how does my new rig perform? When in top shape it is putting out 3700 H/s using xmr-stak-amd and just a hair under 400W at the wall.
HASHRATE REPORT

| ID |   10s |   60s |   15m | ID |   10s |   60s |   15m |

|  0 | 1023.0 | 1011.8 | 1013.5 |  1 | 847.9 | 852.4 | 848.9 |

|  2 | 1001.5 | 989.8 | 1002.4 |  3 | 854.1 | 832.9 | 840.0 |

-----------------------------------------------------

Totals:   3726.4 3686.9 3704.8 H/s

Highest:  4292.3 H/s
Donations
If you liked this post or want to practice sending Monero to random wallets please send tips to 47eJPaqzZ53XSwfbCFeFyxb5WrVaGkPX5Vd3s5Ts4CkkUAjQmbndGPtcpGHZPvFNgseKPJAZ6Vkg97g48tghmLH51LtGJ5P or if you feel like sending Bitcoin then use this address 1DgeqPfBHREoDWxwUbuvyja9ghHN47n8YA.
Unboxing pictures are always fun so I took a bunch while unpacking my goodies.
- Newegg boxes
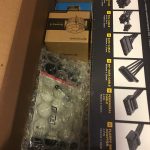
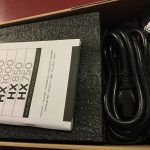
- First glimpse of the PSU!
- CPU, CPU fan, RAM, SSD, thermal paste
- The Mining motherboard
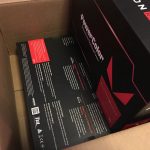
- 2x AMD Vega 56
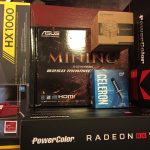
- Everything together!
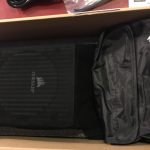
- Unboxing the PSU
- The box inside the box has a nice logo
- Nicely organized
- The PSU is shy under that thin foam
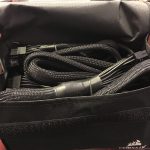
- This comes with a bag to hold extra cables!
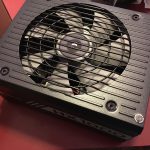
- The PSU in its raw beauty
- Unboxing the motherboard
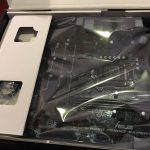
- Tada! static bag
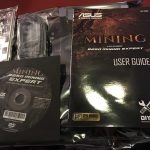
- This was all that came inside, I expected more screws and cables.
- Look at all those PCI express ports!
- The cheap Intel Kaby lake CPU
- Comes with a fan but I won’t use it
- Our CPU fan
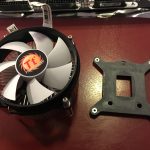
- The fan has a body guard
- Hi there fan!
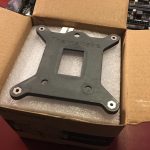
- Fan and securing plate
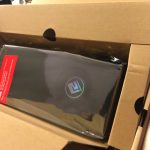
- Exciting! The Vega 56
- Look at all those folds
- Shiny!
- Everything that came in the box, again I’m surprised
- Fan side of the GPU
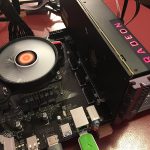
- A top shot for the Radeon light up text
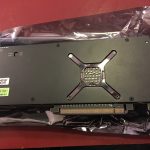
- It looks like the flux capacitor or something on the back
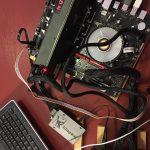
- It’s alive!
- Another shot of it running
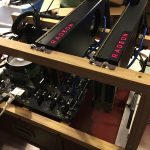
- My wooden rig
- Both Vegas’ installed
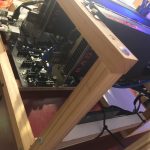
- Another shot of it assembled




Pingback: Creating a mining rig for Monero’s lightweight little brother Aeon – Barrett Sonntag